My mother has back pain. My neighbor also has back pain. Even my office colleague who is twenty eight years old has back pain. Everyone has back pain now. You also have it. That is why you are reading this.
Lower back pain feels bad. You cannot sit on floor. You cannot pick your child. You cannot sleep on your side. Some days you cannot even wear your own socks. I know this because I also had back pain for two years. Then I started doing yoga at home. Not in a class. Not with a teacher. Just at home on a old bedsheet.
Now I will tell you what worked for me. These are yoga stretches for lower back pain at home. No gym needed. No expensive mat needed. Just you and your floor.
Transform Your Lower Back: Yoga Stretches You Can Do at Home
Do not do these stretches if your pain is too much. If you cannot stand straight. If your leg feels numb. If you have fever. If you fell down last week. These are signs of a big problem. Go to doctor first.
Also do not do these stretches right after eating food. Your stomach should be empty. Morning time is best. After you wash your face and use the toilet. Then wait ten minutes. Then start.
Wear loose clothes. Your old cotton kurta or night dress is fine. No belt. No jeans. No tight things.
Read Also: Pilates vs Yoga: Choosing the Best Practice for Your Goals
Why Your Lower Back Hurts?
You sit on chair for eight hours. Then you sit in car for one hour. Then you sit on sofa for three hours watching reels. Your back is not made for this much sitting. Your back wants to move. But you do not move it. So the muscles become tight. Tight muscles pull on your bones. That pull is pain.
Yoga does one simple thing. It loosens those tight muscles. When muscles become loose, they stop pulling. The pain goes away. Not because of magic. Because of stretching.
The Stretches
I will give you eight stretches below. You do not have to do all eight on day one. Start with three. Then next week add one more. Then next week add one more.
Stretch Number One
Come on your hands and knees. Like a cow or a table. Your hands should be exactly below your shoulders. Your knees should be below your hips. Now look at the floor. Keep your back straight like a wooden plank.
Now breathe in. When you breathe in, drop your stomach down. Lift your chest up. Lift your tailbone up. Your back will bend like a small curve. Look slightly up.
Now breathe out. When you breathe out, round your back up. Pull your stomach in. Tuck your chin to your chest. Your back will look like a dome.
Do this slowly. One breathe in for the curve down. One breathe out for the curve up. Do this ten times. Your back will feel warm. Warm is good.
Stretch Number Two
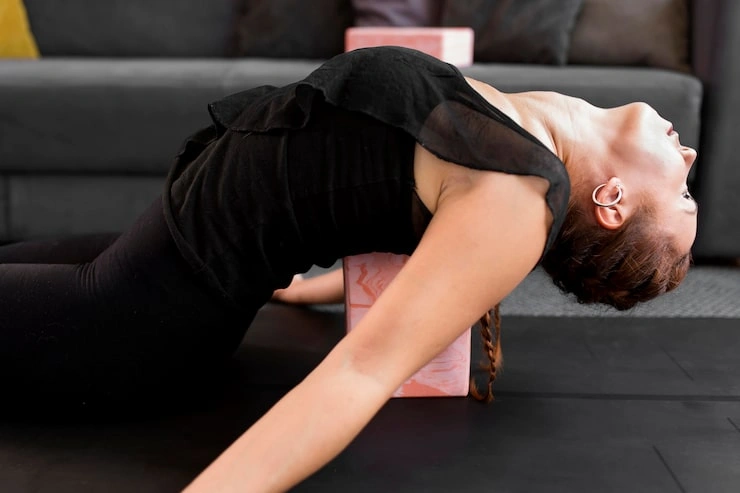
Sit on your knees. Your knees should be a little apart. Not too much. Just a fist distance between them. Now slowly lower your chest down. Your chest will come towards the floor. Stretch your arms in front of you. Put your forehead on the floor. If floor is hard, put a small towel under your forehead.
Now just sit here. Do not move. Breathe slowly. Feel your lower back. It will feel like someone is gently pulling it. That pull is good. Stay here for ten breaths. If ten is too much, start with five breaths.
This stretch is called child pose. But you do not need to remember the name. Just remember the feeling.
Stretch Number Three
Lie down on your back. Keep your legs straight. Put your arms by your side. Now take your right knee. Pull it towards your chest. Hold your right knee with both hands. Your left leg should stay straight on the floor. Do not lift your head. Keep your whole back flat on floor.
Pull the knee gently. Do not jerk. Just pull a little. Stay for six breaths. Then slowly leave the knee. Put the leg back on floor. Now do the same with left knee. Pull left knee to chest. Hold with both hands. Right leg straight. Six breaths.
After doing both sides separately, pull both knees together. Hold both knees to your chest. Stay for six breaths. Rock a little left and right. That feels nice.
Stretch Number Four
Still lying on your back. Now open your arms to the sides. Like a bird. Your body will look like a letter T. Now bend your right knee. Keep your right foot flat on floor. Now slowly drop your right knee to the left side. Let your knee fall towards the floor on your left. Keep your right shoulder on the floor. Do not let your right shoulder lift up. Turn your head to the right side.
Now stay here. Breathe. You will feel a twist in your lower back. That twist is good. Stay for five breaths. Then slowly bring your knee back to center. Now do the same on other side. Bend left knee. Drop left knee to right side. Turn head to left side. Five breaths.
If your knee does not reach the floor, put a pillow under the knee. That is fine.
Stretch Number Five
Still on your back. Now bend both knees. Keep your feet flat on floor. Keep your feet as wide as your hips. Keep your arms on floor by your side. Now press your feet down. Push into the floor. Then slowly lift your hips up. Your hips will go up in the air. Your belly will also go up. Do not lift too high. Just lift until your knees, hips, and shoulders are in one straight line.
Stay here for three breaths. Then slowly bring your hips down. Do this five times. Each time you lift, hold for three breaths. This stretch makes your back muscles strong. Strong muscles do not hurt.
Stretch Number Six
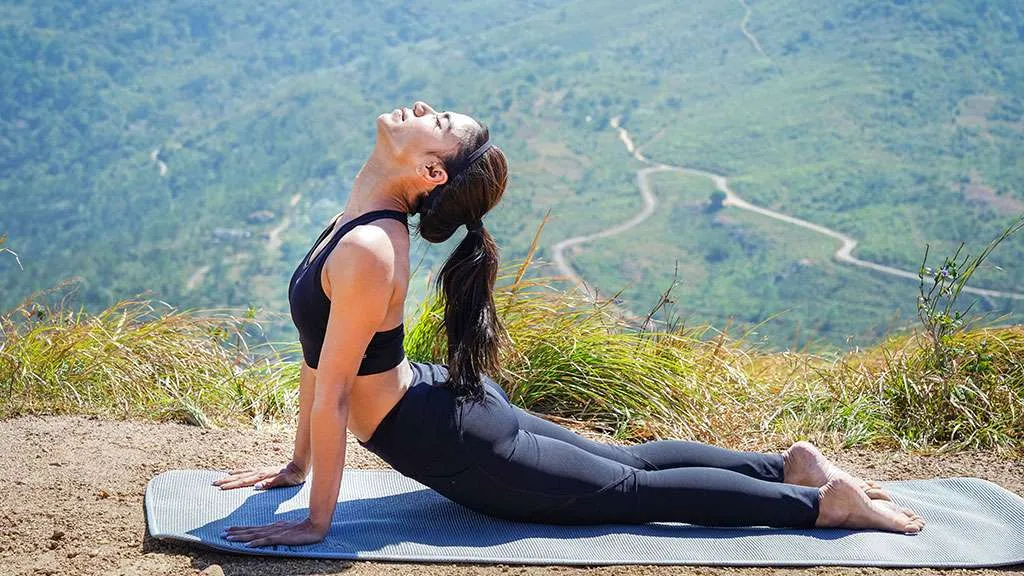
Now turn around. Lie on your stomach. Keep your legs straight. Keep your arms straight by your side. Keep your forehead on the floor. Now breathe in. When you breathe in, lift your chest up. Lift your head up. Keep your arms on floor. Do not lift your arms. Do not lift your legs. Only lift your chest and head. Keep looking down at floor. Do not look up.
Stay for three breaths. Then come down. Do this three times. If your lower back hurts during this stretch, do not lift so high. Lift only one finger height. That is also fine.
Stretch Number Seven
Go back to lying on your stomach. Now make a small change. Keep your hands under your forehead. Like you are sleeping on your hands. Now relax your whole body. Let your back become loose. Stay here for ten breaths. This is not a stretch. This is rest. Your back needs rest between stretches.
Stretch Number Eight
Find a wall. Any wall in your house. Sit sideways next to the wall. Lie down on your back. Now swing your legs up the wall. Your hips should touch the wall. Your legs will be straight up on the wall. Keep your arms on floor by your side. Close your eyes. Just lie here.
Stay for two minutes. You can stay for three minutes also. This pose helps blood flow. It also takes all pressure off your lower back. Many people feel relief after this one stretch only.
To come out, bend your knees. Roll to one side. Push yourself up slowly. Do not stand up fast.
You May Also Like: What Should I Know About Using a Bolster in Yoga?
How To Do These Stretches Every Day
Do not make a big plan. Do not buy a notebook. Do not download an app. Just do this.
Wake up. Wash face. Drink one glass water. Go to toilet. Then take your bedsheet. Put it on floor. Do stretch number one ten times. Do stretch number two for ten breaths. Do stretch number three on each leg. Do stretch number four on each side. Then do stretch number five five times. Then finish with stretch number eight for two minutes.
This whole thing takes twelve minutes. Twelve minutes only. You waste twelve minutes every day scrolling on phone. Give those twelve minutes to your back instead.
Common Mistakes People Make
I see people make these mistakes all the time.
First mistake. They hold their breath. Do not do that. Keep breathing. If you forget to breathe, you are pushing too hard.
Second mistake. They go too fast. They treat yoga like exercise. Yoga is not exercise. Yoga is slow. Move like water. Not like fire.
Third mistake. They stop doing stretches when pain goes away. Pain goes away on day five. They stop on day six. Then pain comes back on day ten. Then they get angry and say yoga does not work. But yoga did work. They stopped doing it. You have to keep doing these stretches even when pain is gone. Do it for two months at least. Then your back will stay strong.
Fourth mistake. They do stretches on a bed. Bed is soft. Soft surface does not give support. You need a firm surface. Floor is best. Put a thick bedsheet on floor. That is enough.
When You Must Stop And Call Doctor
Yoga stretches for lower back pain at home are safe. But not for everyone. Stop immediately if you feel any of these things.
Sharp pain that feels like a knife. Pain that starts in your back and goes down to your foot. Sudden weakness in your leg. You cannot lift your foot while walking. You cannot control your urine. You pass stool without knowing. High fever with back pain. Back pain after you fell from bike or stairs.
These are danger signs. Do not do any stretch. Do not wait. Go to a hospital.
How Long Before Pain Goes Away?

I cannot give you a date. Every body is different. Some people feel better in three days. Some people take three weeks. Some people have old pain from five years ago. They take two months.
Do not check for results every day. That will make you tense. Tense muscles do not heal fast. Just do your twelve minutes every morning. Forget about the pain. One day you will wake up and realise you slept whole night without turning. That day you will know it worked.
One Last Warning
This article is not a doctor. I am a common person who had back pain. I am telling you what worked for me and for people I know. Your body is different. If you have slip disc, spine surgery, arthritis in back, or any nerve problem, do not do these stretches without asking your doctor first. Pregnant women should not lie on stomach or back after three months. Ask your doctor.
Start Tomorrow Morning
Do not wait for Monday. Do not wait for first of next month. Do not wait for new year. Tomorrow morning is enough. Keep this page open on your phone. When you wake up, read the first three stretches. Do only those three. That is a small win. Small wins become big changes.